Create Kafka Instance
In the Kafka message queue, follow these steps to create a Kafka instance.
-
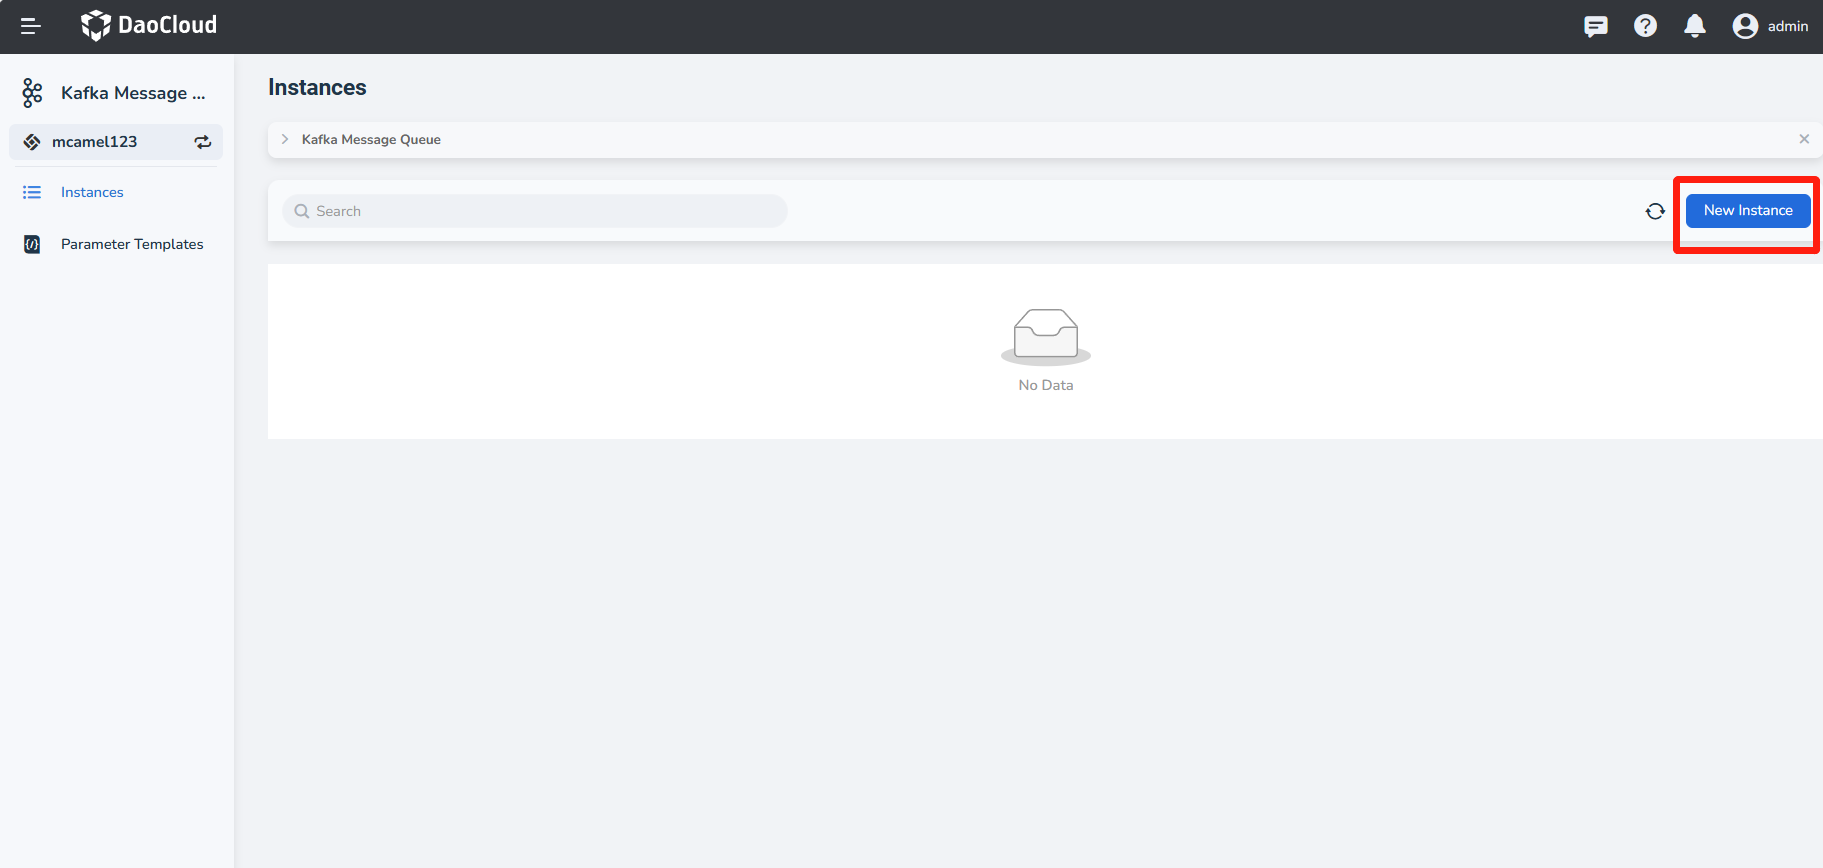
On the Kafka message queue page, click the Create Kafka Instance button in the top right corner.
Tip
When deploying for the first time, you can click Deploy Now.
-
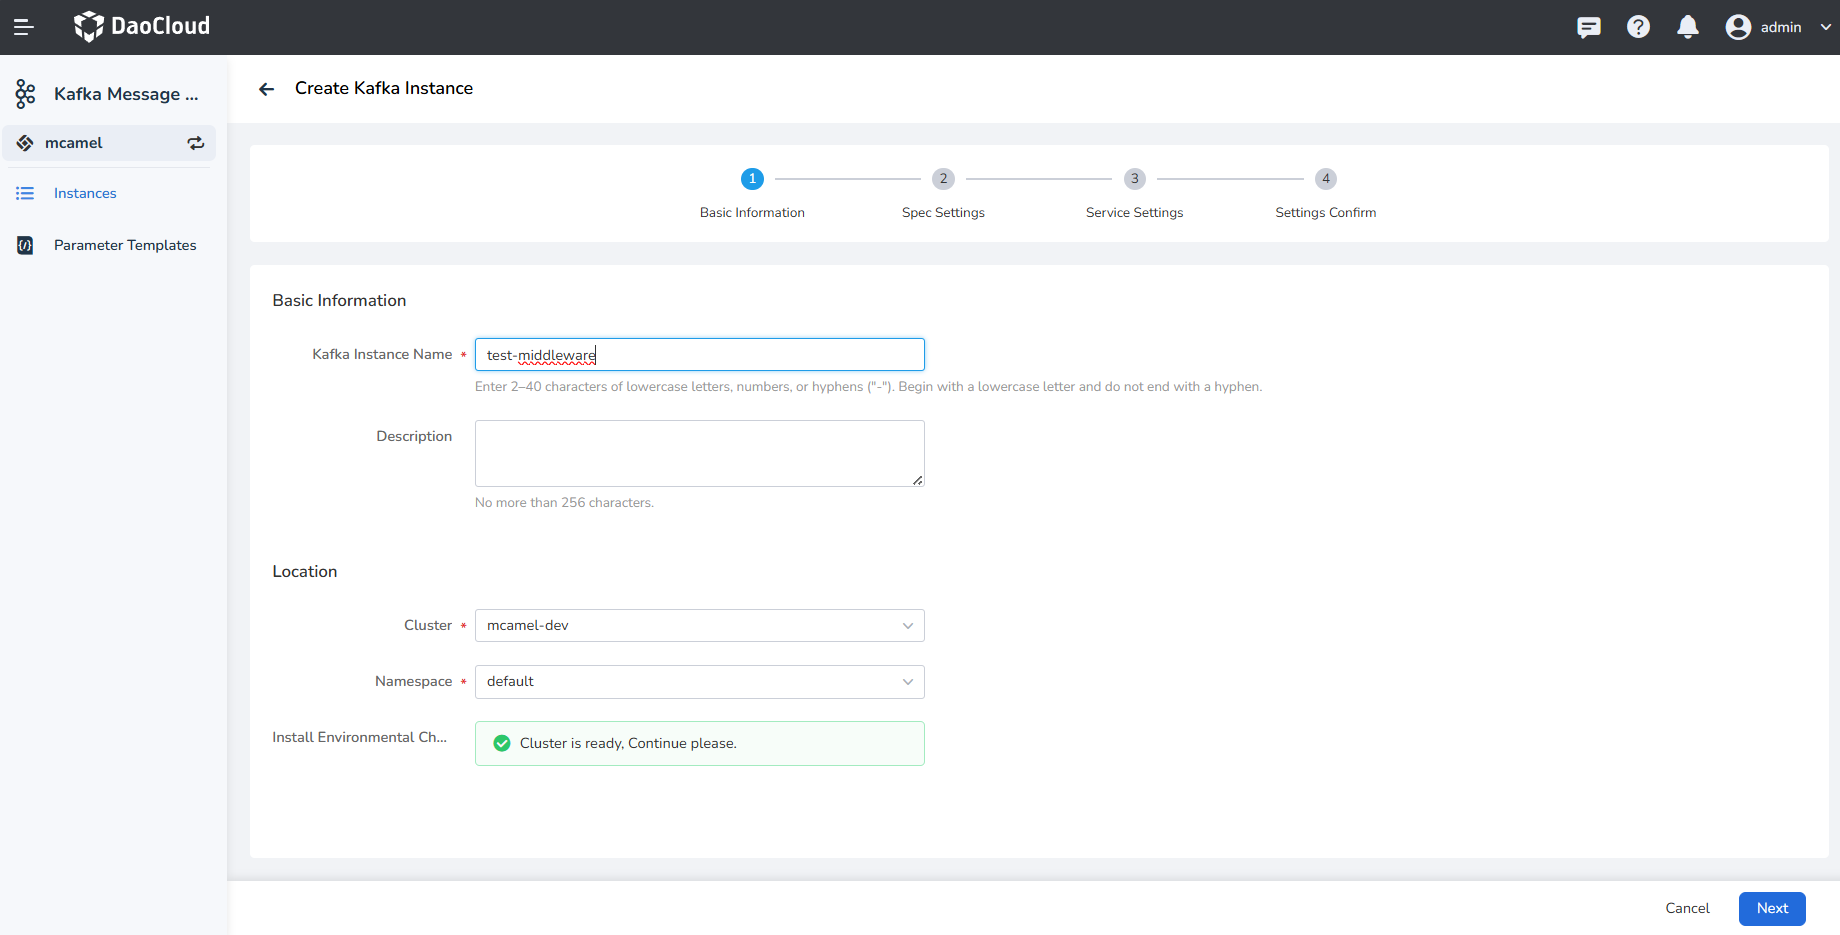
On the Create Kafka Instance page, after setting the basic information, click Next.
-
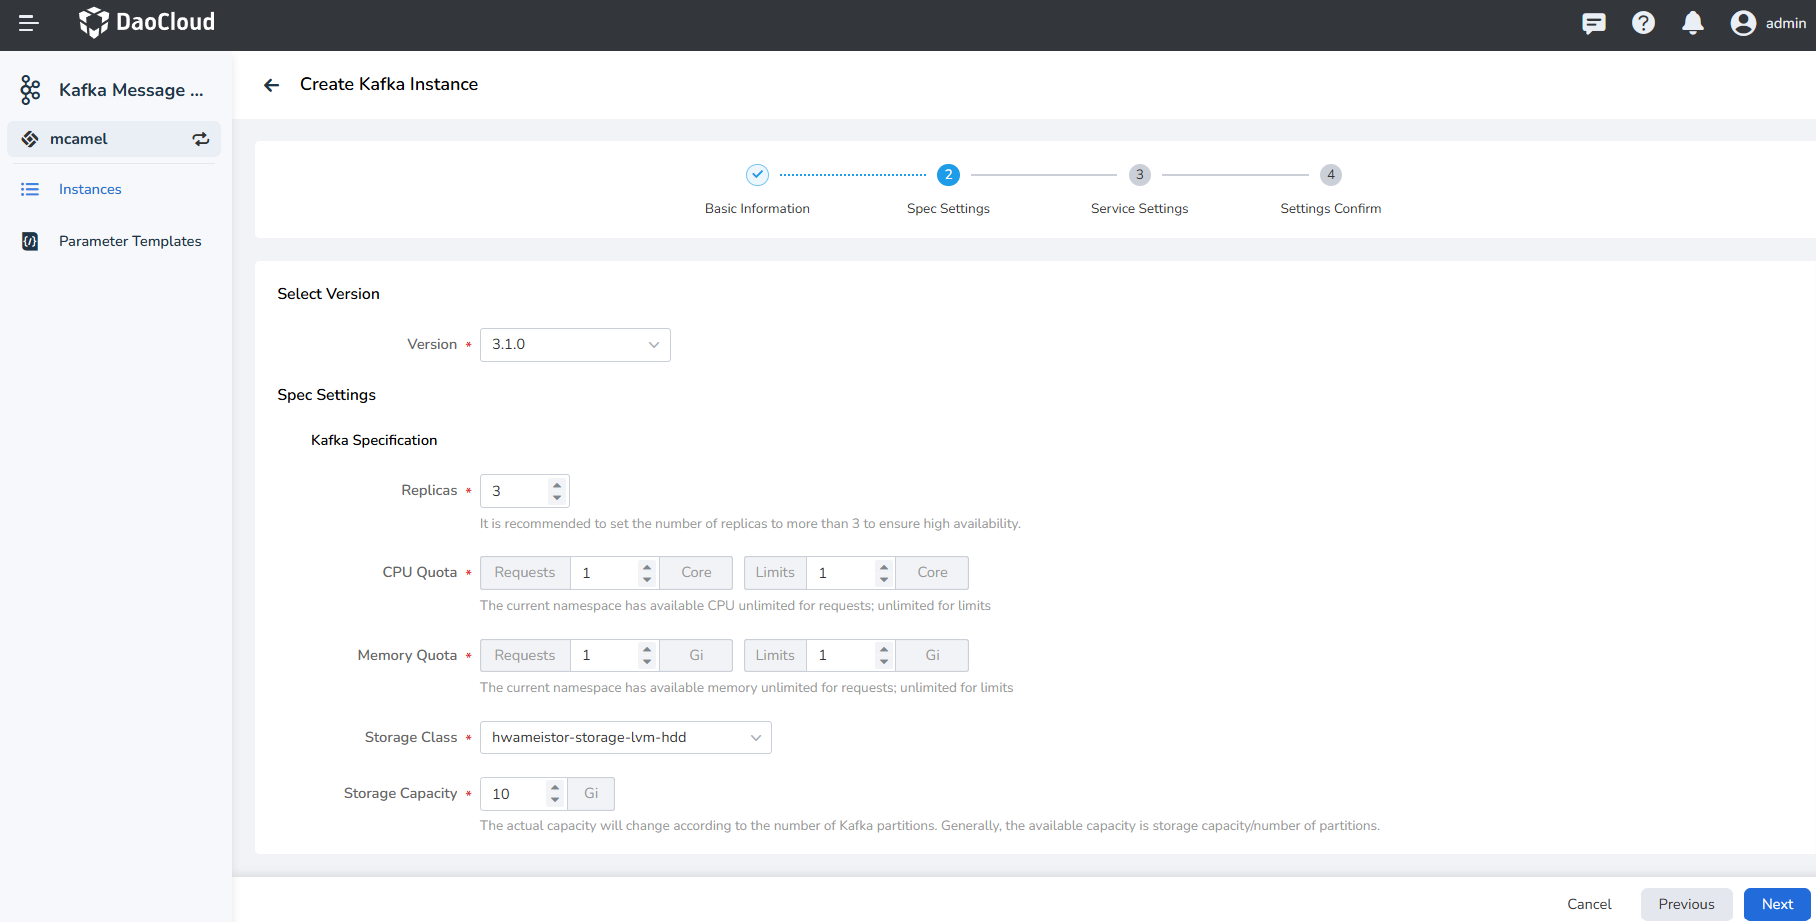
After configuring the specifications, click Next.
- Version: The version of Kafka, currently only supports Kafka 3.1.0.
- Replicas: Supports 1, 3, 5, 7 replicas.
- Resource Quota: Choose rules according to the actual situation.
- Storage Capacity: Select the storage volume and total storage space for the Kafka instance.
-
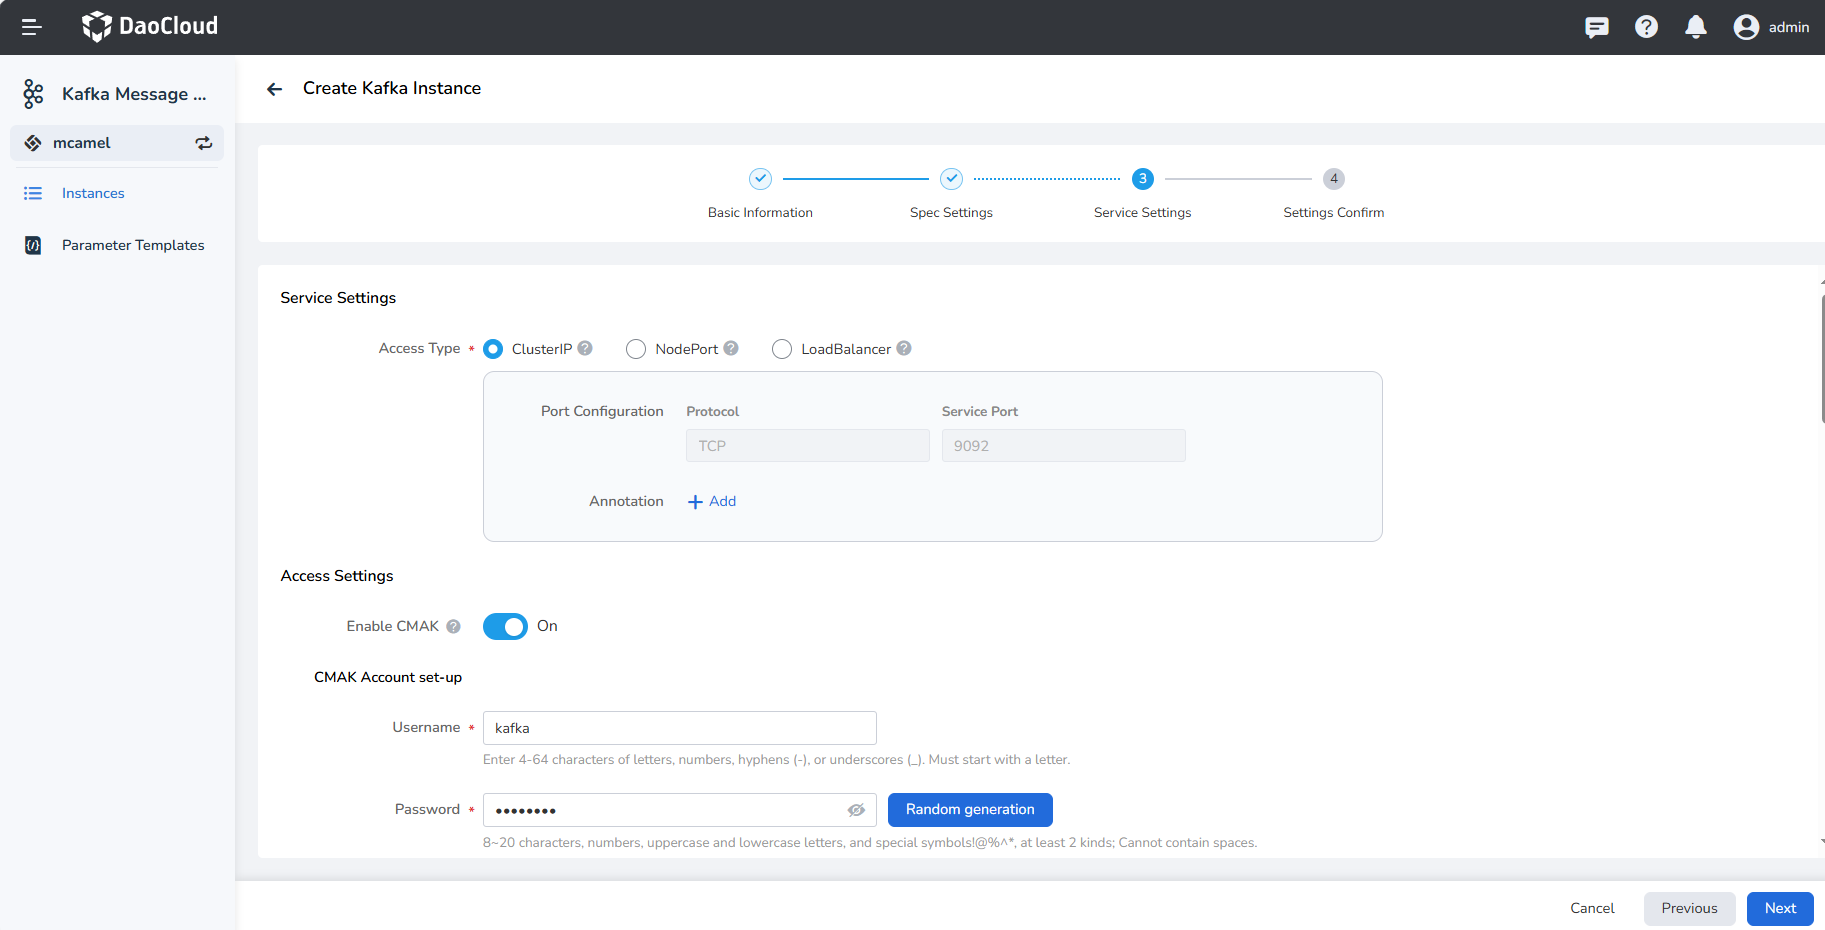
After service settings, click Next.
- Service Settings:
- ClusterIP
- Nodeport
- LoadBalancer
- Access Settings:
- CMAK Account set-up: Username and password to connect to the Kafka instance.
- CMAK Resources: Replicas, CPU quota, and memory quotas.
- CMAK Service Configuration: Nodeport, LoadBalancer
- Advanced Settings: Configure as needed.
- Service Settings:
-
Confirm that the instance configuration information is correct, click OK to complete the creation.

-
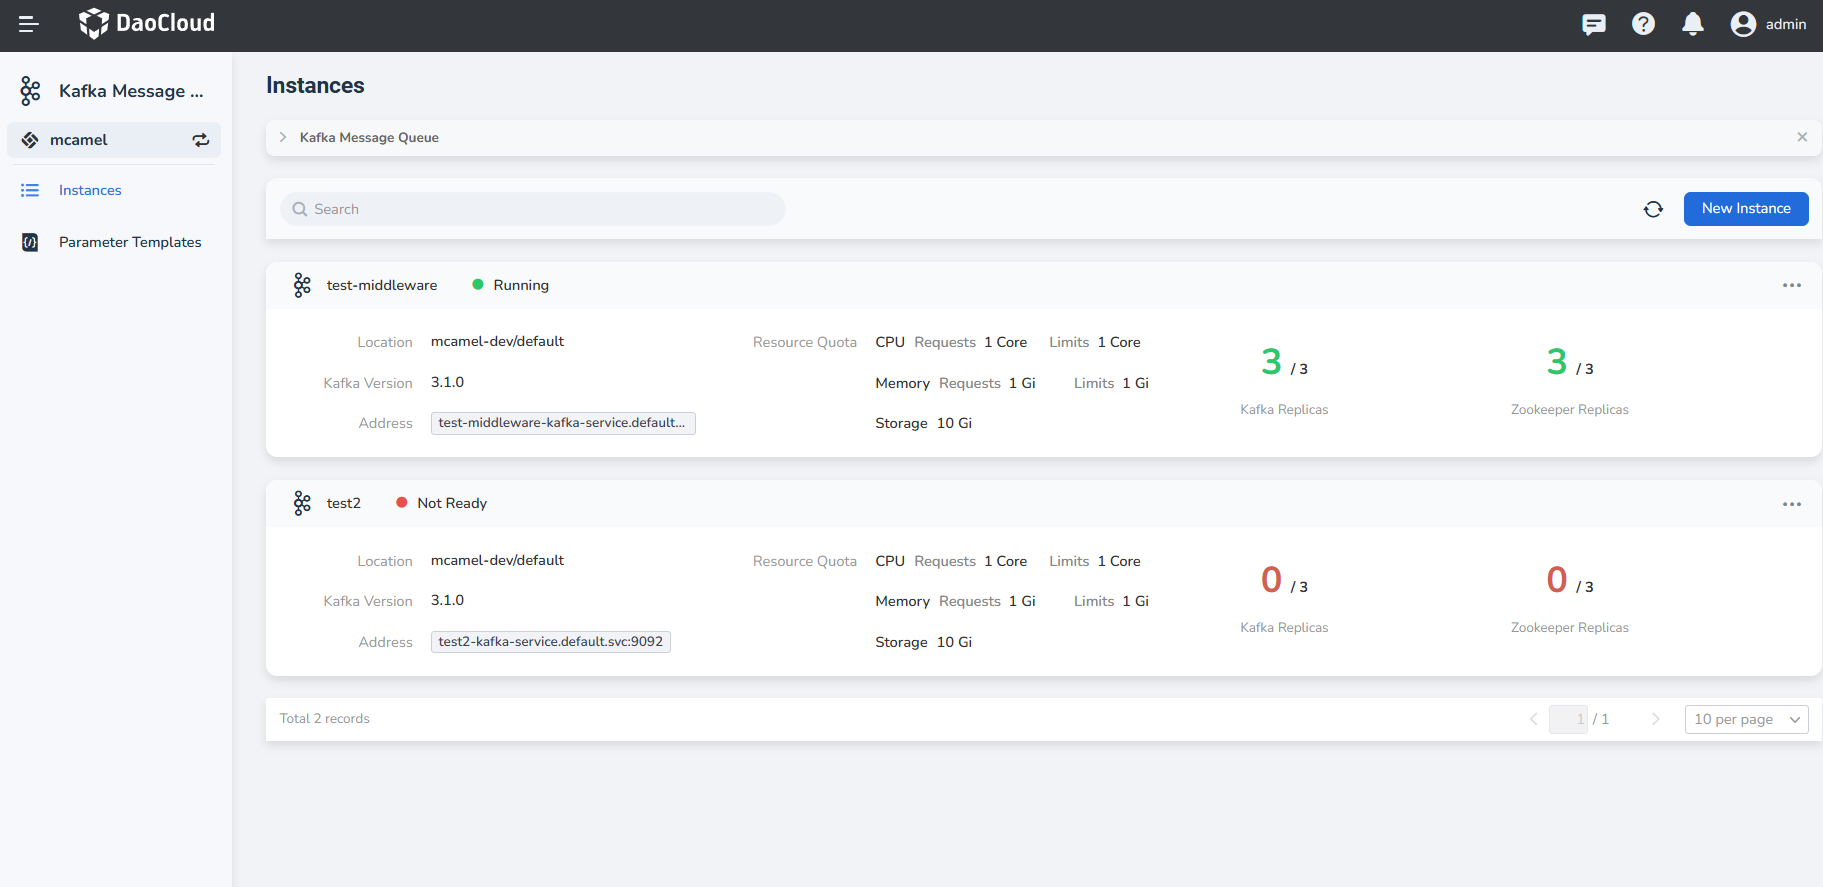
Check the instance list page to see if the instance has been created successfully. The status of the newly created instance will be Not Ready, and after a few minutes, this status will change to Running.
Note
In addition, DCE 5.0's Kafka provides parameter templates to simplify instance creation. You can use these predefined parameter templates to create instances.