Create Managed Harbor
Prerequisite: Cert Manager and Harbor Operator have been installed.
Note
For Harbor instances, in addition to using administrator accounts, robot accounts are also supported for access.
-
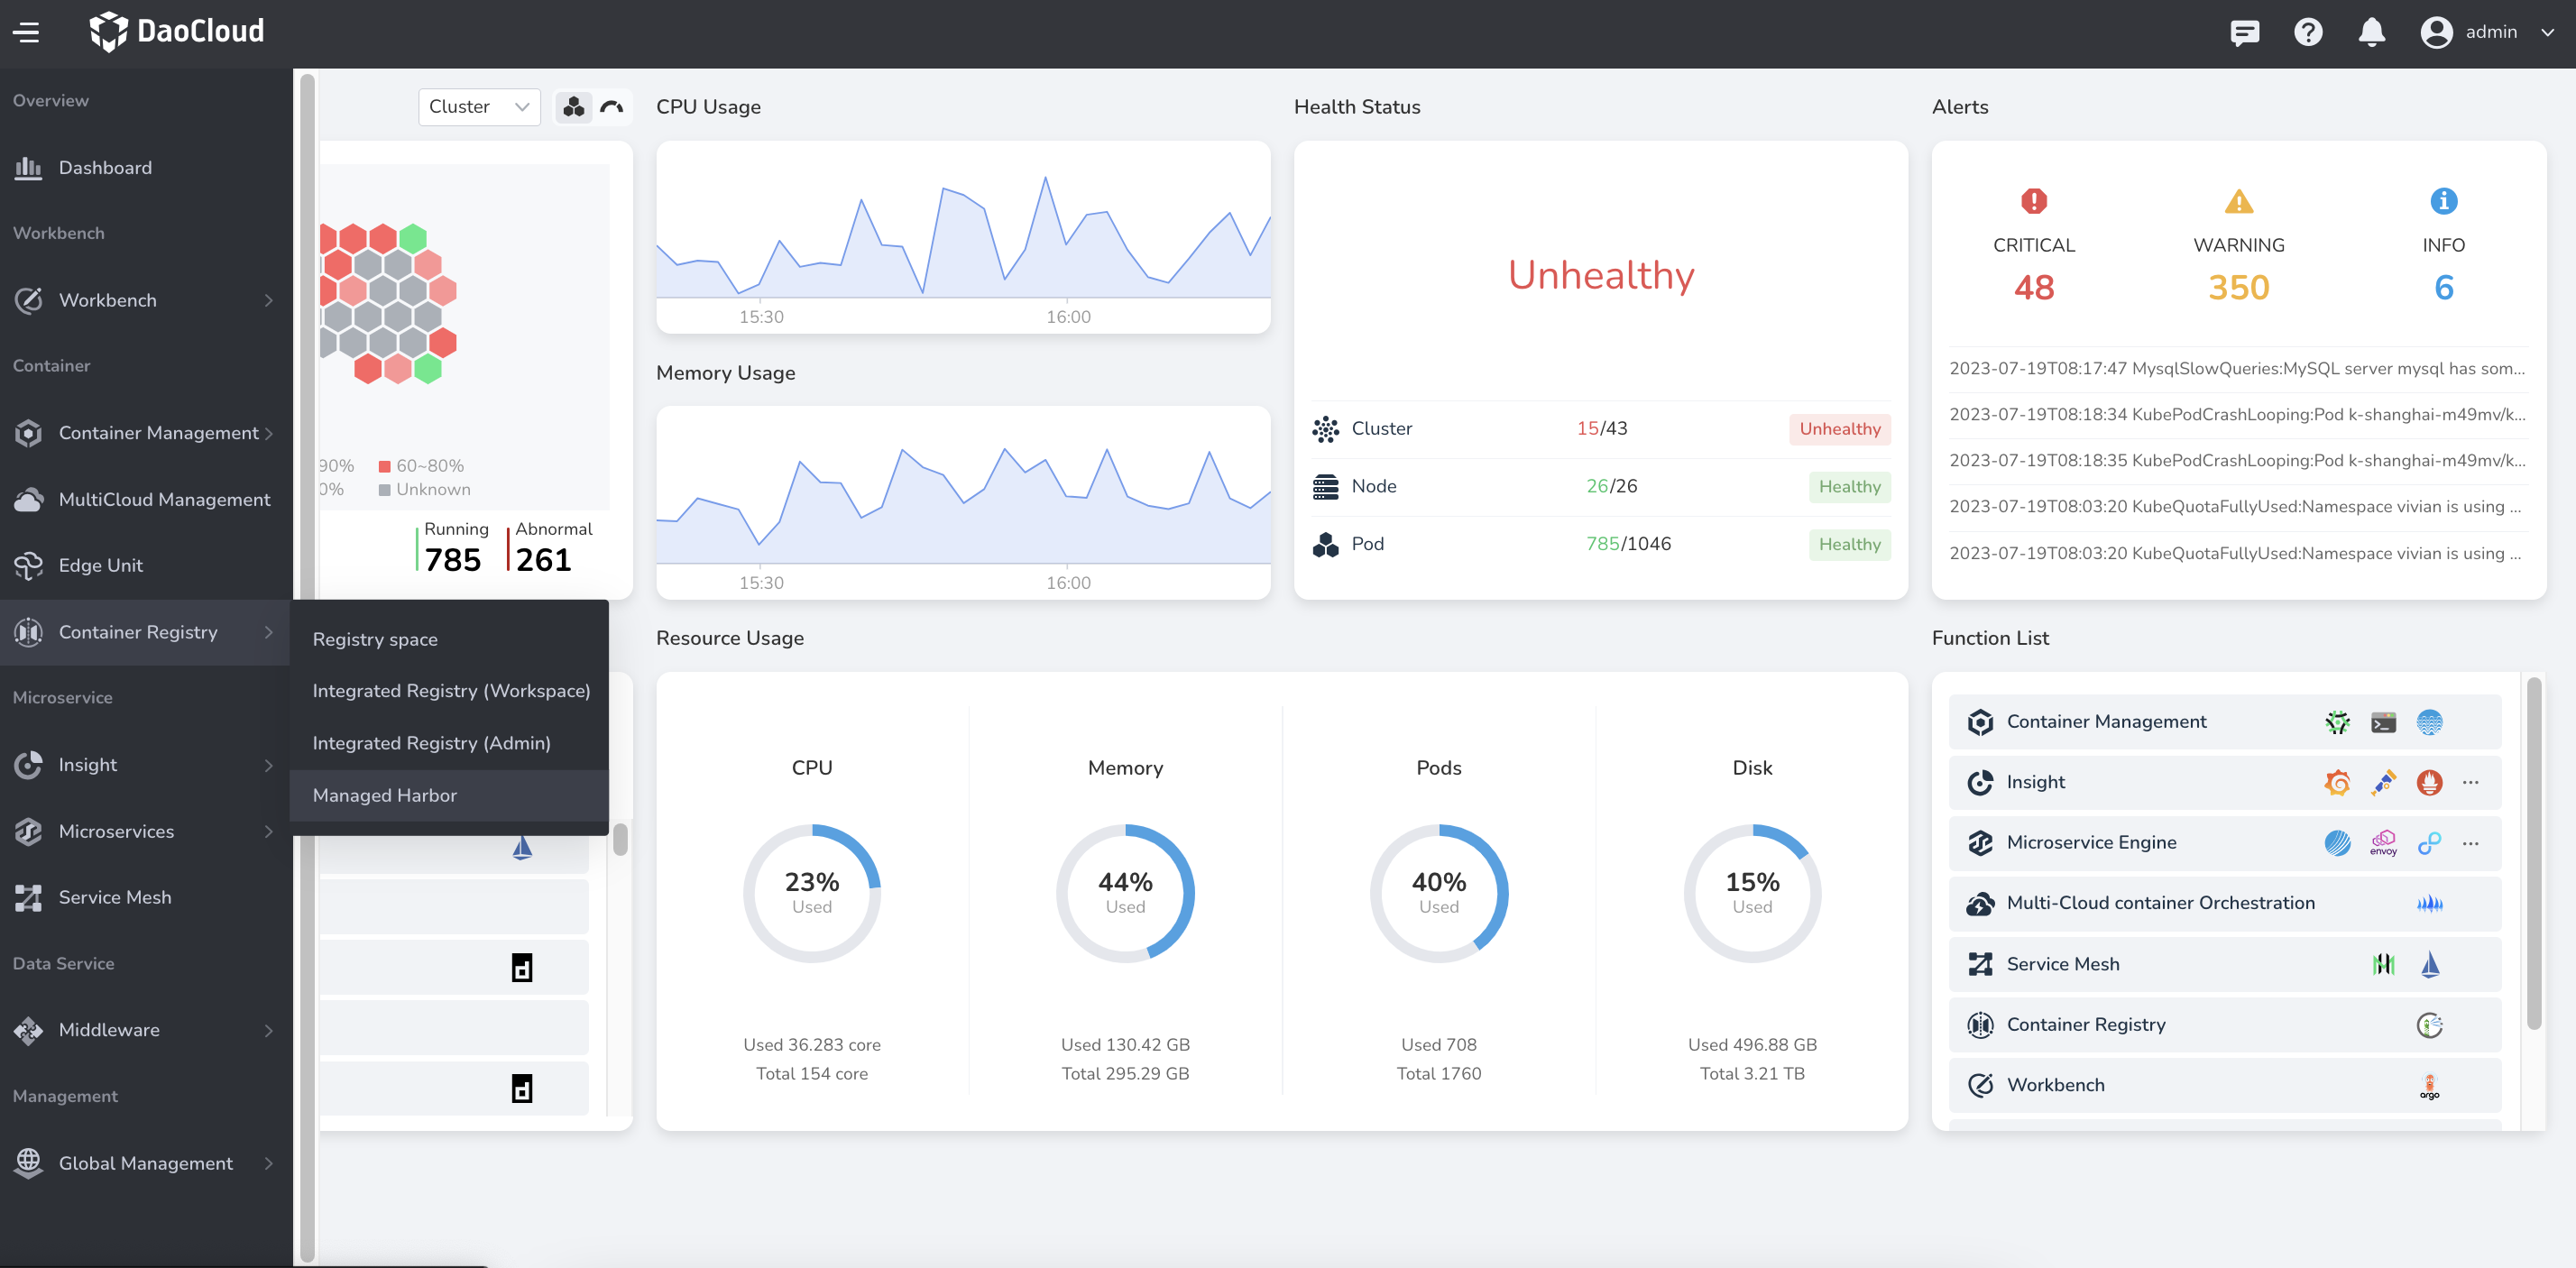
Log in to DCE 5.0 as a user with the Admin role, and click Container Registry -> Managed Harbor from the navigation bar.
-
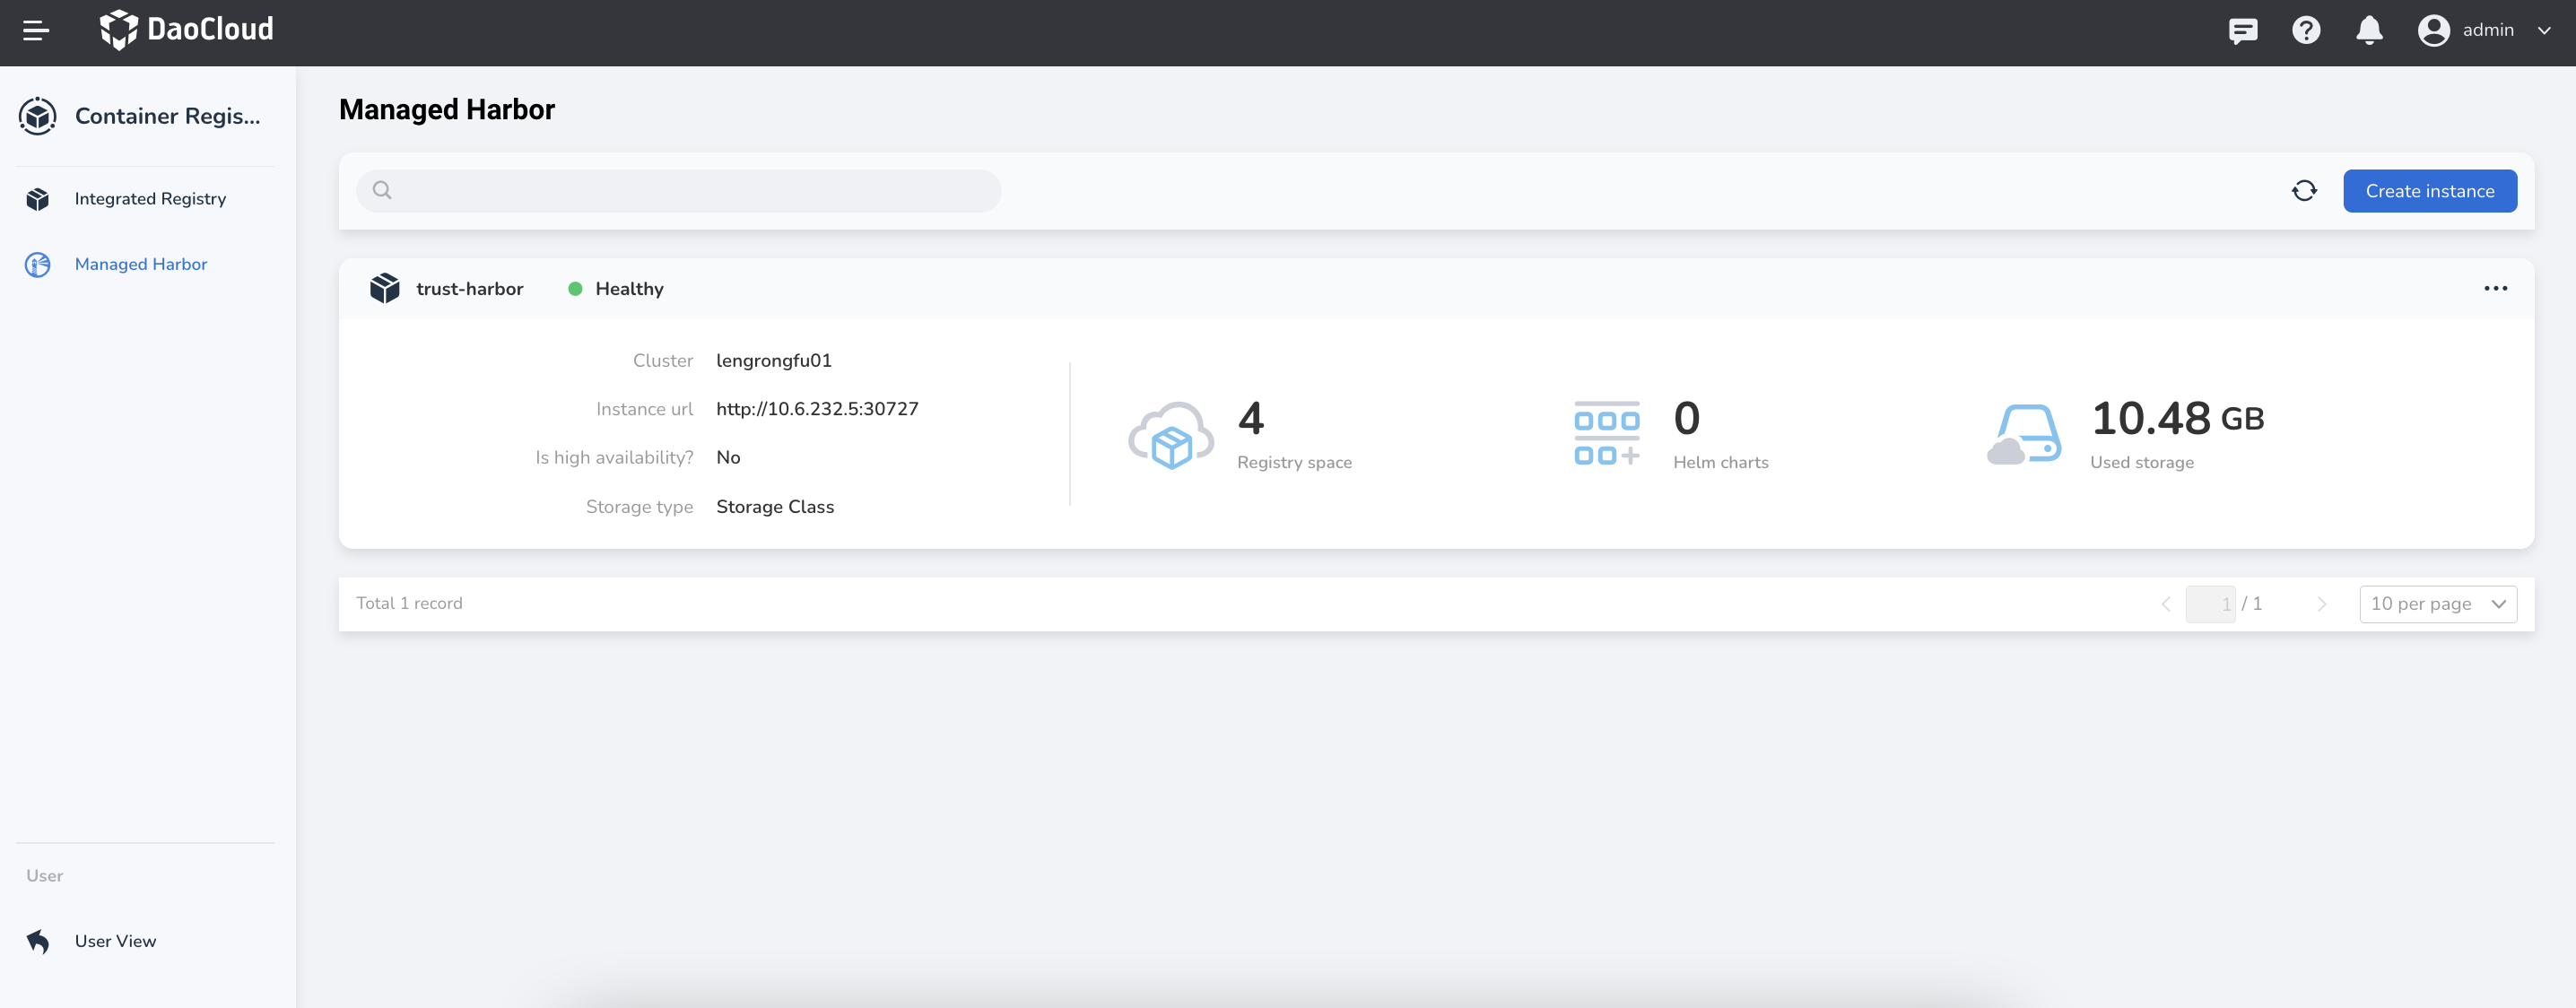
Click the Create Instance button in the upper right corner.
-
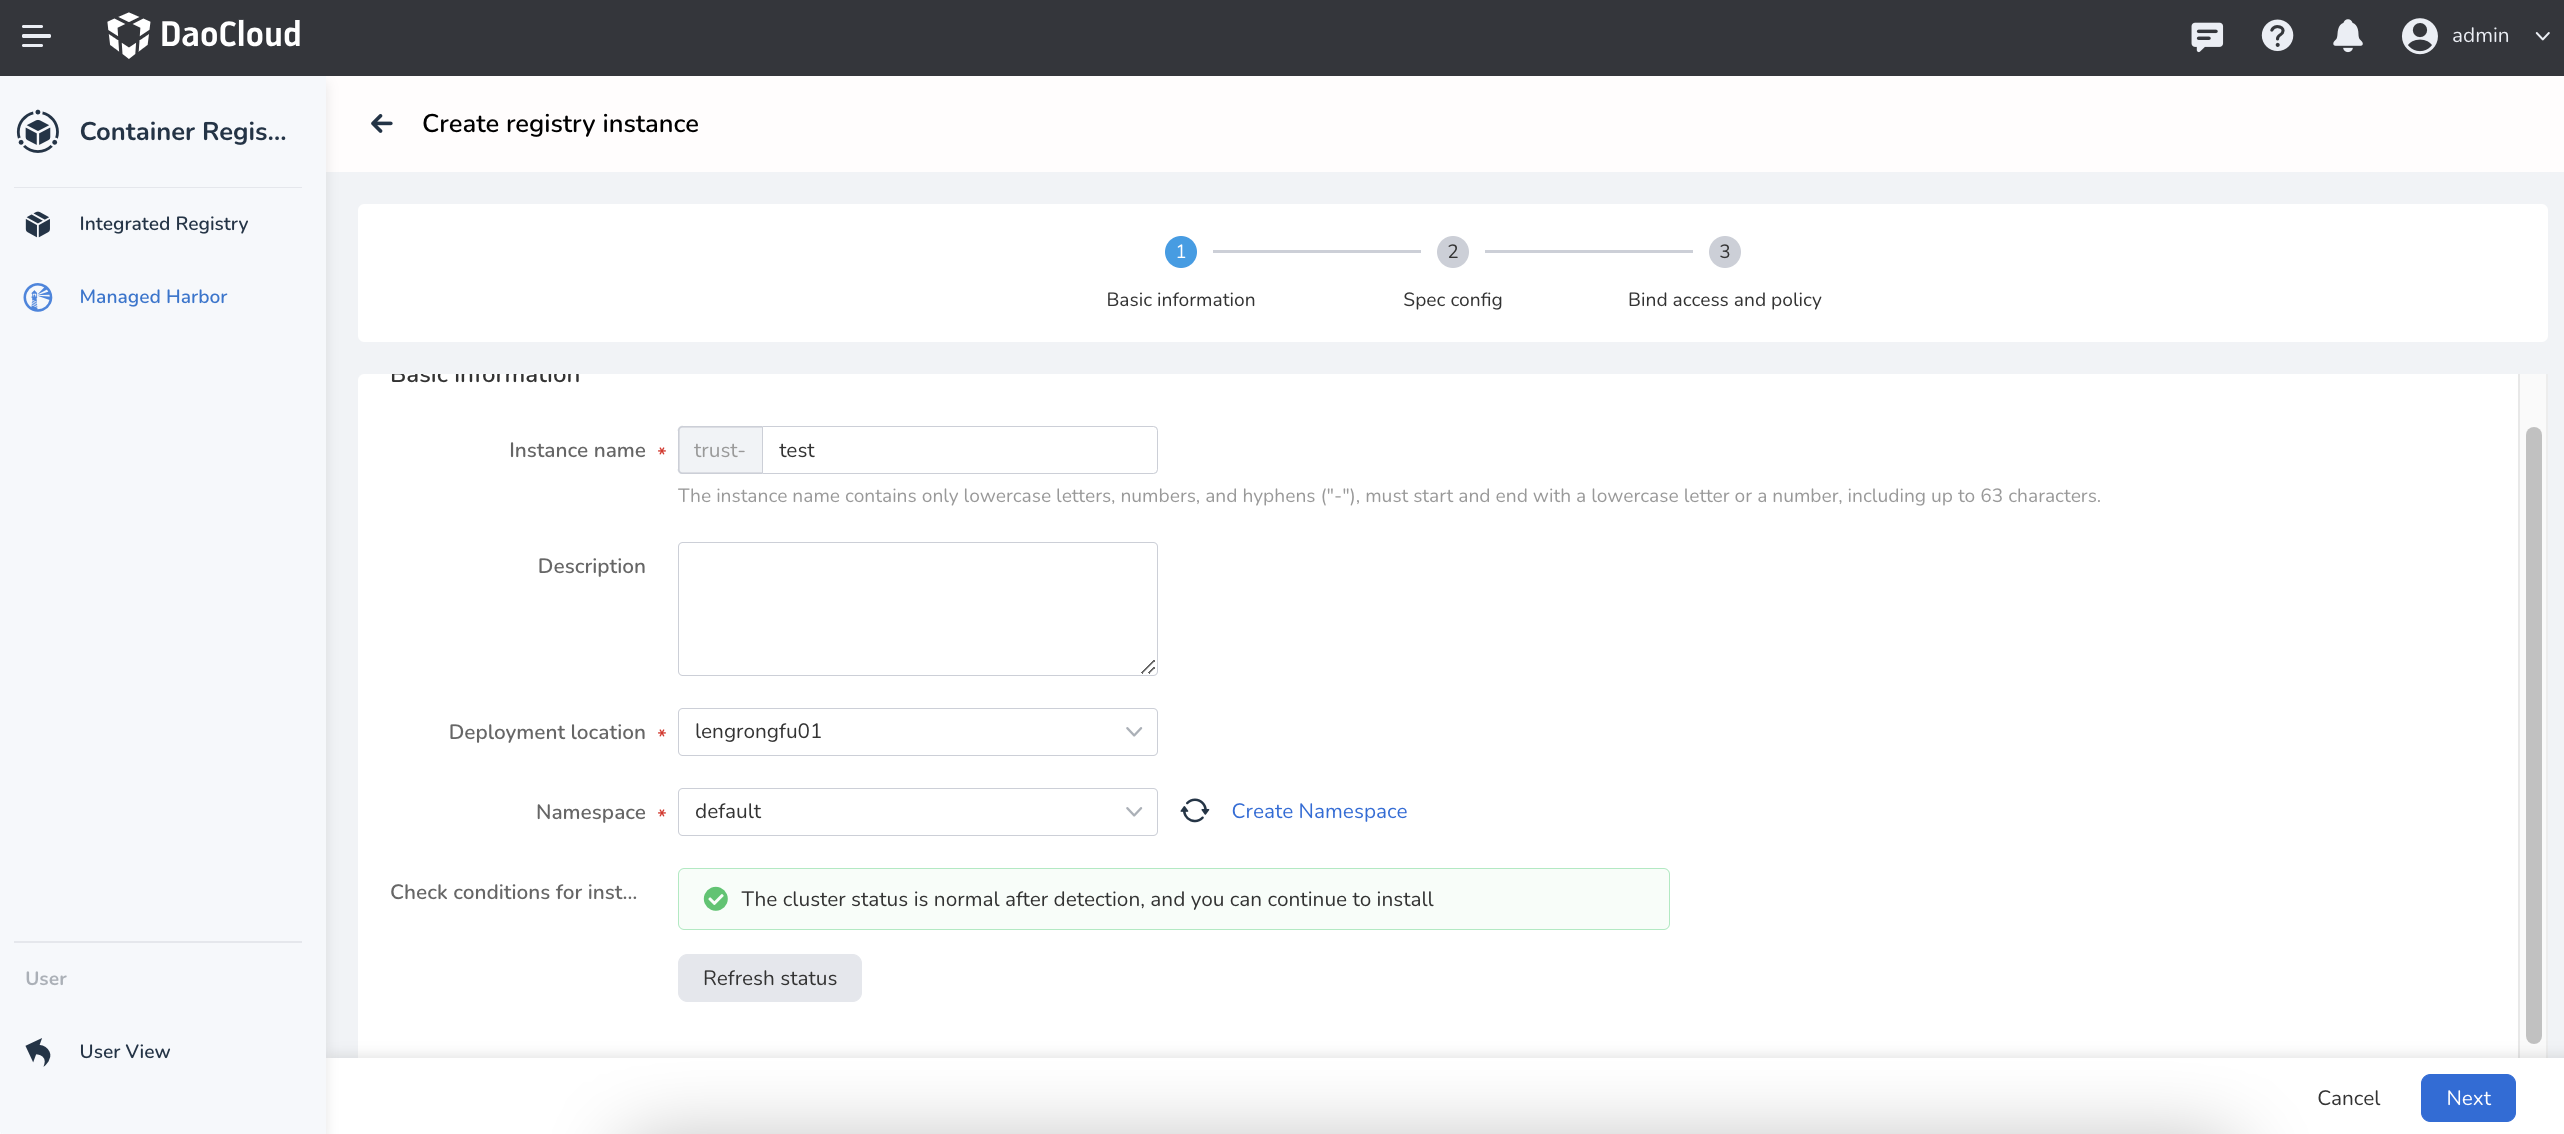
Fill in the instance name, select the deployment location and click Next (if there is no deployment location to choose, you need to go to Container Management module to create a cluster and namespace).
-
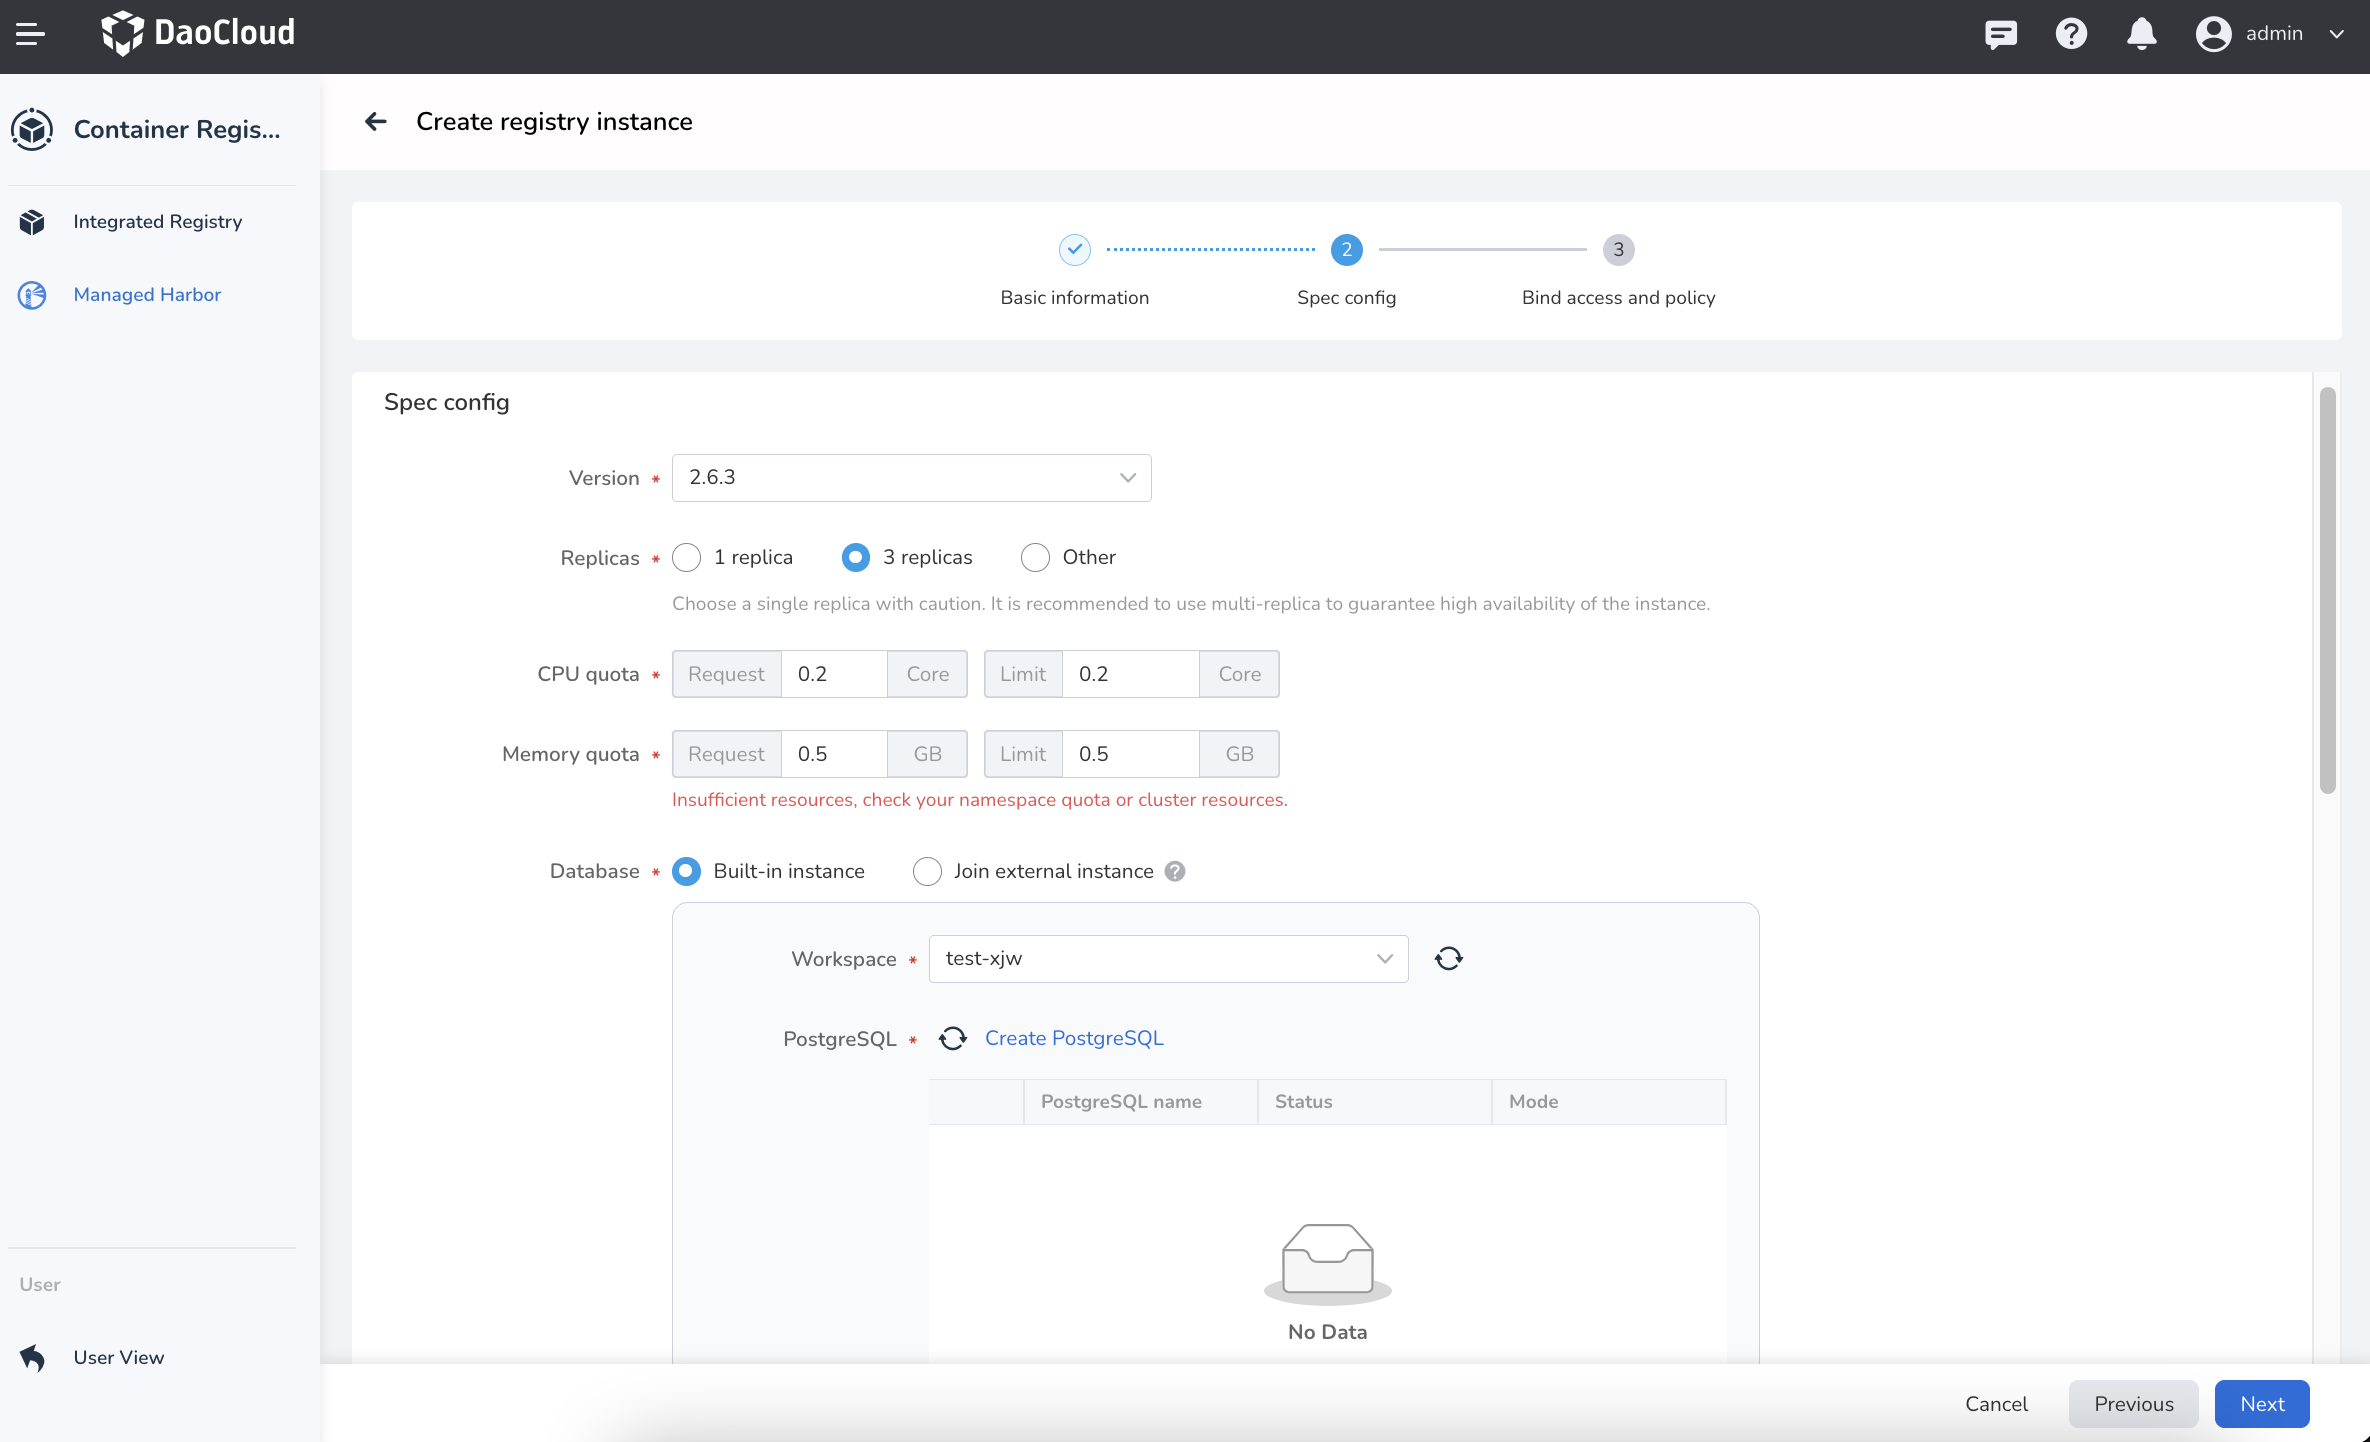
Fill in the database, Redis instance and image/Charts storage information and click Next .
If Middleware has been installed, the system will automatically detect PostgreSQL and Redis. When there is no available database, you can click the link to create one. If Middleware hasn't been installed, you can Join external instance and use external PostgreSQL and Redis.
Tips for filling out the database:
- Address:
postgres://{host}:{port}, for examplepostgres://acid-minimal-cluster.default.svc:5432 - Username: Fill in the username to connect to the database
- Password: fill in the password to connect to the database
Redis filling is divided into stand-alone and sentinel modes:
- Fill in the address in stand-alone mode:
redis://{host}:{port}, you need to replace the two parameters:hostandport. - Fill in the address in sentinel mode:
redis+sentinel://{host}:{port}?sentinelMasterId={master_id}, you need to replace the three parameters:host,port, andmaster_id. - Password: Fill in as required
- Address:
-
Fill in the domain name, select the ingress instance, enter the administrator password and click OK (username/password is used to log in to the native Harbor instance, please keep the password safe).
Tips for filling in the domain name:
http://{host},http://in front of the host must be brought.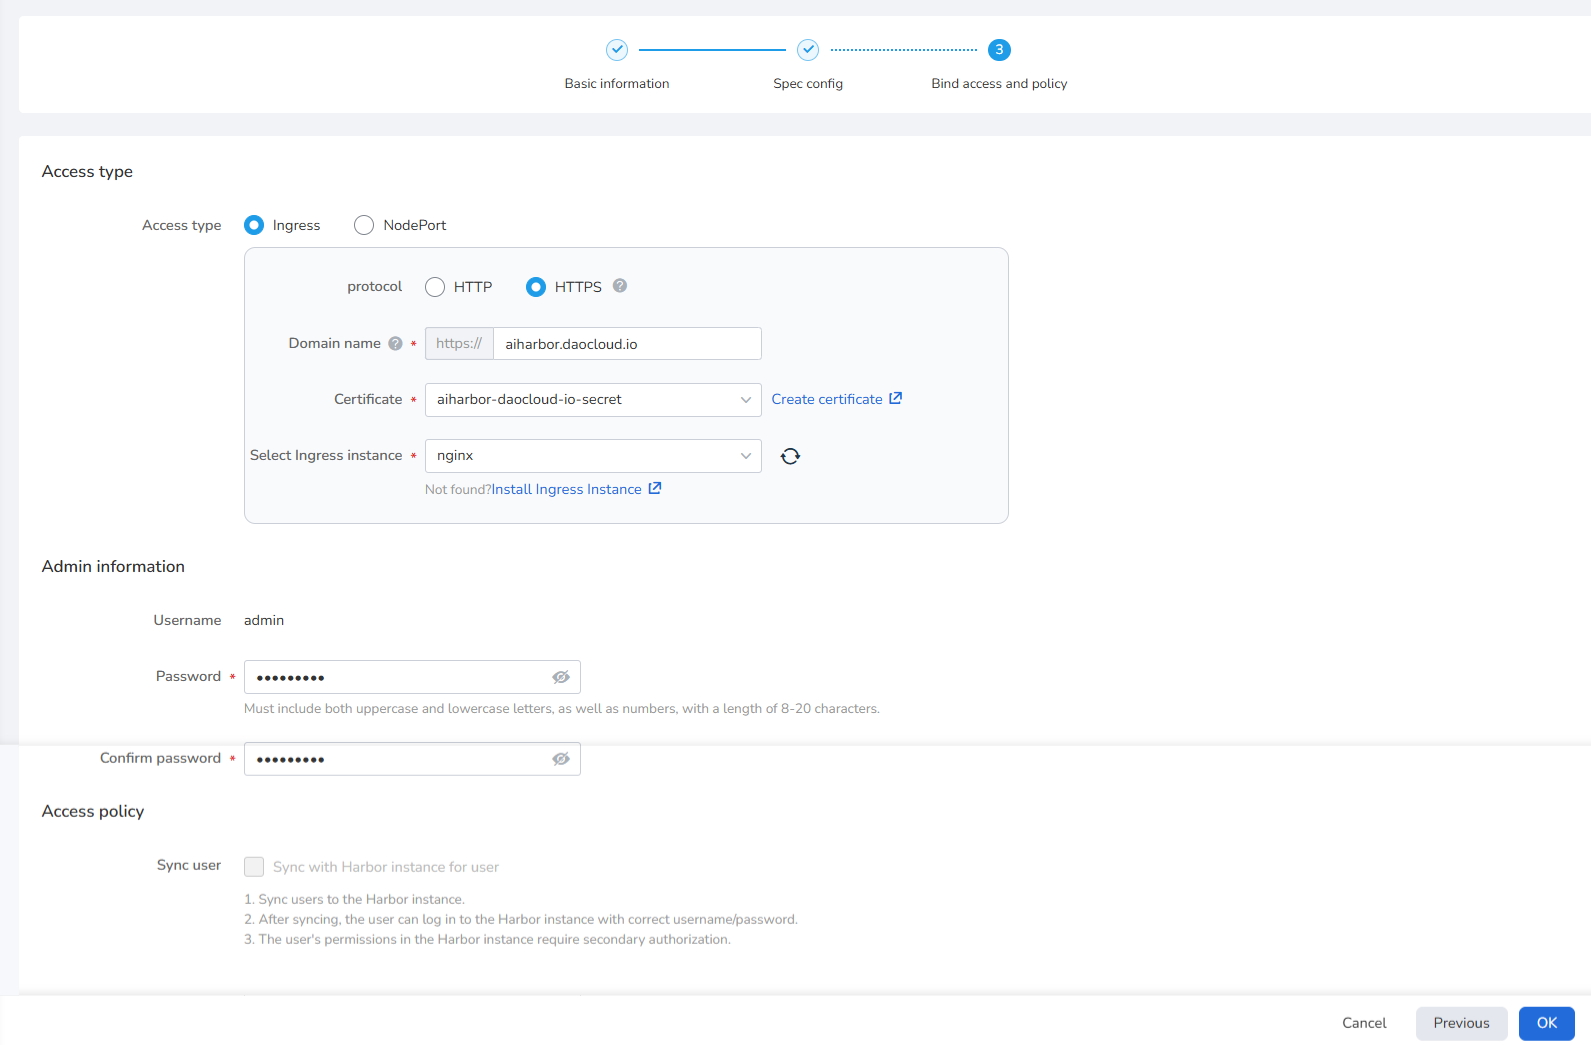
-
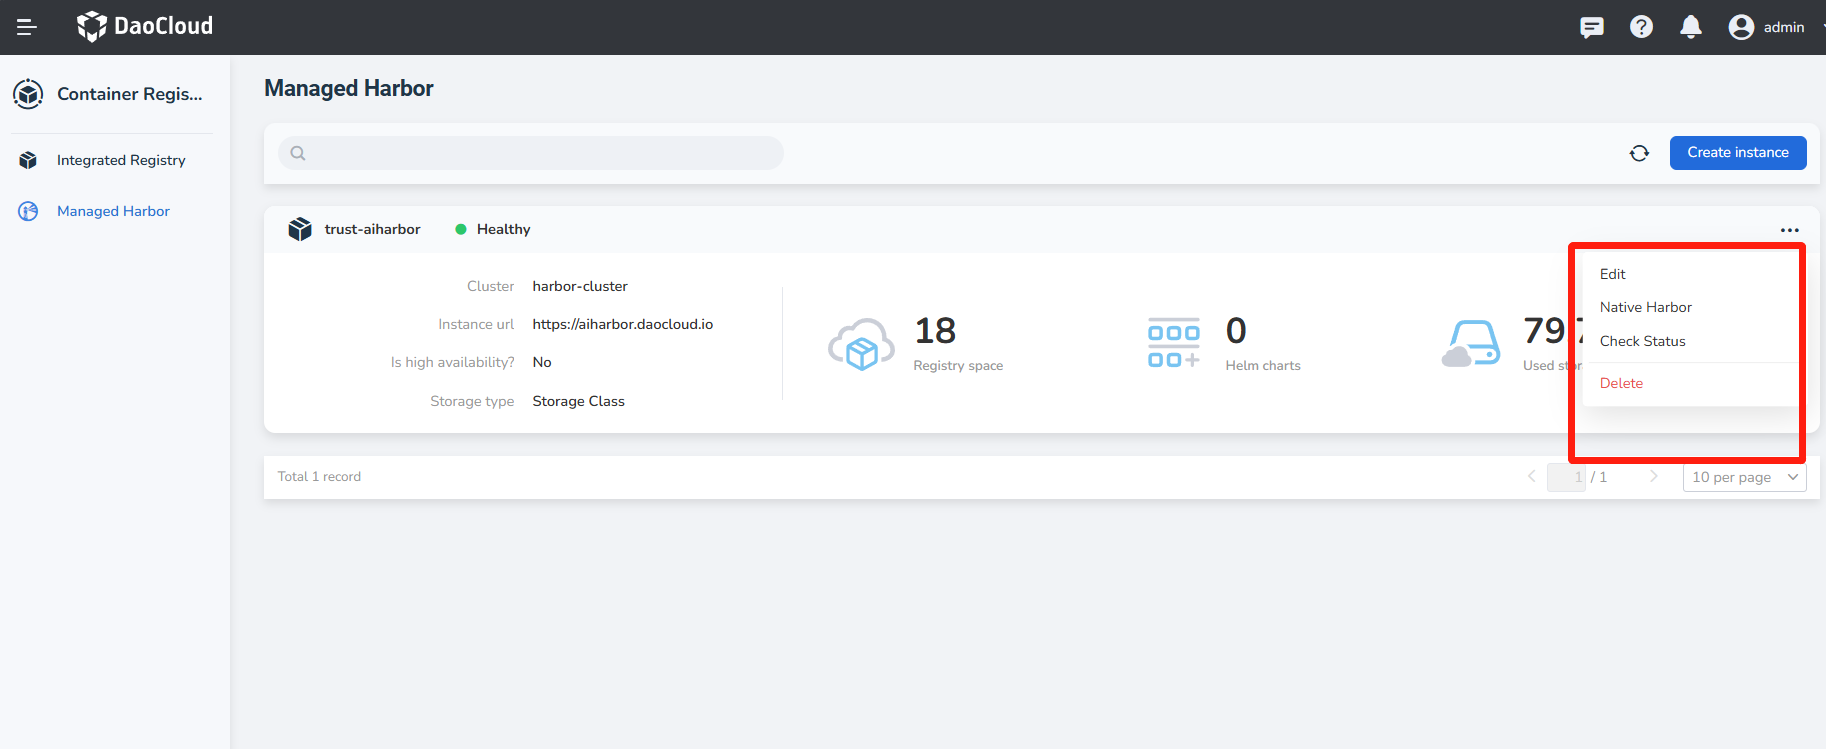
Return to the list of managed Harbor instances. The newly created instance is the first one by default. Wait for the status to change from
UpdatingtoHealthybefore it can be used normally. -
Click ... on the right side of an instance, and you can choose to edit, delete, enter the Native Harbor or check status.
-
Managed Harbor primarily involves managing the entire lifecycle of a Harbor instance. Once created, the system will automatically integrate the instance into the Integrated Registry list. You can navigate to the Integrated Registry list to view the instance details and perform operations such as
Create Registry SpaceandSync Images.
Next step: Create registry space